Last December my wife and I flew to Europe to spend a couple of weeks with our overseas family. Although we live in a very safe neighborhood, for peace of mind, we wanted a way to check on our house while we were away.
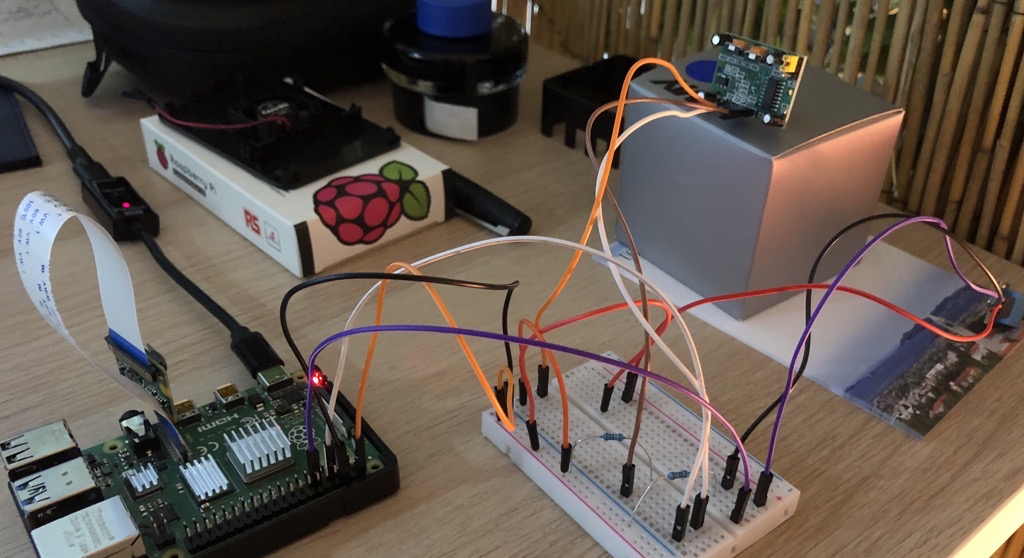
There’s a couple of good commercial options, but they are a bit limited on what they do. So, I got myself a Raspberry 4, a couple sensors and a case and got to work. There’s a lot of great information online and I got a first digital guard prototype working quite quickly:

If the digital guard detected movement or any open doors it would start recording, open house lights, play sounds -pretending someone was in the house- and notify us.
If everything was well, and nothing abnormal was detected, it would send a daily report with a picture of the house, inside temperature, humidity and more. Was the digital guard overkill? Likely… Fun to create & successful at its objective? Absolutely!
Fast forward to a couple months ago and, due to the new COVID situation, my wife and I started getting into gardening.
We really liked adding plants to our garden, seeding, seeing the plants grow… One thing that sometimes was not as fun though was watering. Don’t get me wrong, its great when you want to do it, but having to do it daily can be tedious. Perfect excuse for a digital worker addition to the house: the digital gardener.
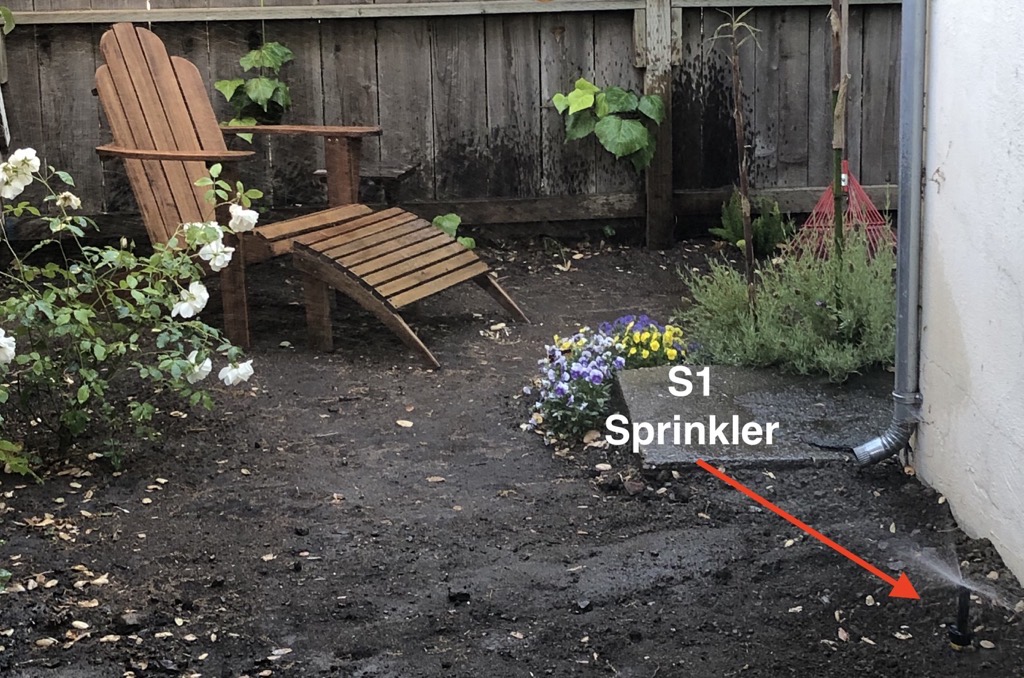
As for the tools the worker would use, after doing some research I settled on two small sprinklers, connected using in-ground tubing and controlled by a solenoid valve. The valve, in turn, would be connected to a smart plug that was controlled by the Raspberry 4 through WiFi.

Assembly was quite straightforward. One thing I’d have loved someone told me: make sure you add quite a bit of sprinkler pipe thread seal tape in every connection. Specially on the ones that come before the solenoid valve acts.
OK, now that I had everything ready to go I started working on the digital gardener itself. As a gardener would do, I wanted that every day it would assess how much water the plants needed. To allow him to do its job, the digital gardener needed the following information:
a) Did it rain today over my house? If so, how much?
b) What was the average temperature today?
c) How wet was the soil?
Then, it should use that information to decide how much water the plants needed and start watering. Quick & easy.
Translating to actual implementation:
1. In the Raspberry 4, crontab triggers the digital gardener (python script) every day at 8 p.m.
2. The digital gardener pulls from OpenWeatherMap API the exact weather over my house using lat and long coordinates.
3. It then decides the amount of time that it should water the plants for, or if it should water at all, based on rain and temperature specifics.
4. It connects to the smart plug and turns it on, in turn this opens the solenoid valve and watering starts.
5. Waits until the timer is up.
6. Connects to the smart plug and turns it off, closing the solenoid and stopping watering.
Throughout this process the worker is logging everything that is doing on a text file. I can then review what it did and tweak its behavior as needed.
I also added a couple safety nets for when things could go wrong, if the connection to the smart plug fails when turning it on it will try again a couple of times before giving up. If it fails when turning it off it will keep trying every few minutes until it succeeds.
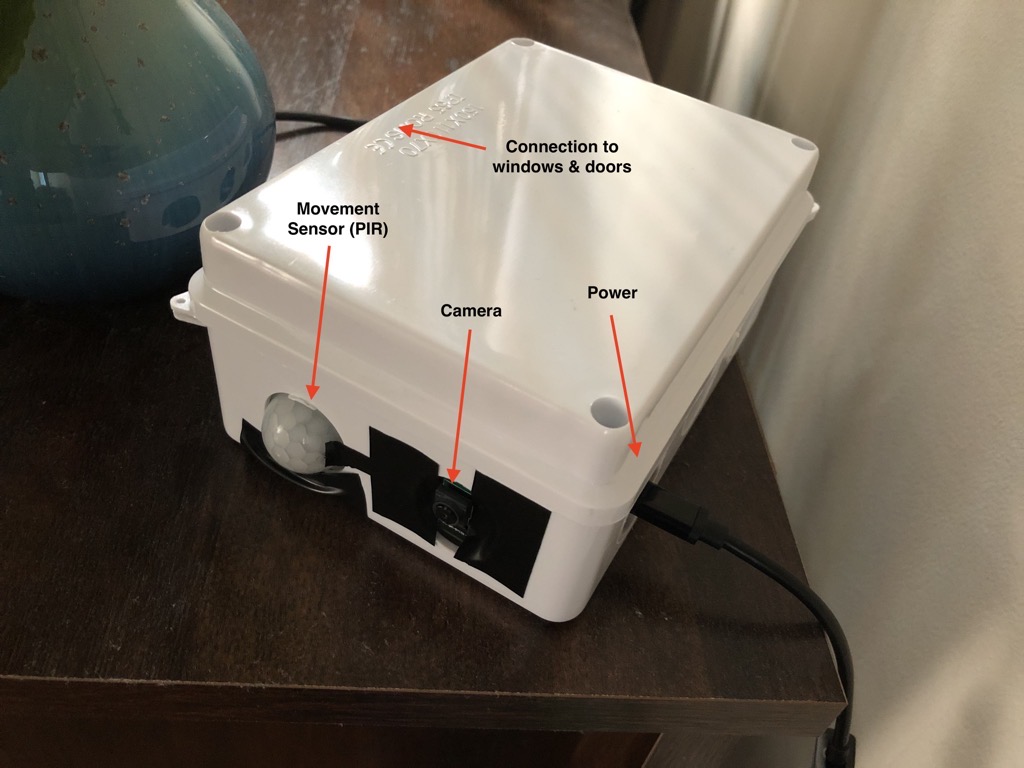
And that’s it, I assembled the Raspberry inside an electrical box and placed it where it can act as a Digital Guard -if activated- and as a Digital Gardener -daily-. I’ve not yet soldered the components, excuse the electrical tape:

And voila! Now we can go back to choosing the right lawn grass 🙂

– – – – – –
Today it’s been a very hot day for Palo Alto standards, 95 F. Do I need to remember to go out and water the plants? Of course not, the digital gardener has my back and will water the precise amount they need (unless I messed up the instructions, but that can always be fixed 🙂 ).
Until next time,
Marc