NewsWave will be sunset early next year

NewsWave, the twitter-style RSS news feed, will be sunset early next year.

AppStoreIntro

WHY? 

Even though it has very loyal users and both iOS and macOS apps reviewed very well -4.8 for iOS & 4.5 for macOS-, ultimately the recurrent revenue did not justify the time I’d need to invest in to further enhance it. 

Leaving it for sale while it languishes is not something I feel good with, and would not like it as a user either, so I’ve decided to sunset it now that its still working very well. 

WHAT IS CHANGING? 

NewsWave is no longer for sale on the App Store and it is no longer possible to become a premium user.

Existing users however can continue to use the app normally until July 2022, and paid subscribers can continue to use it until their premium subscription expires (subscriptions will not auto-renew). 

HOW DO I MIGRATE MY DATA?

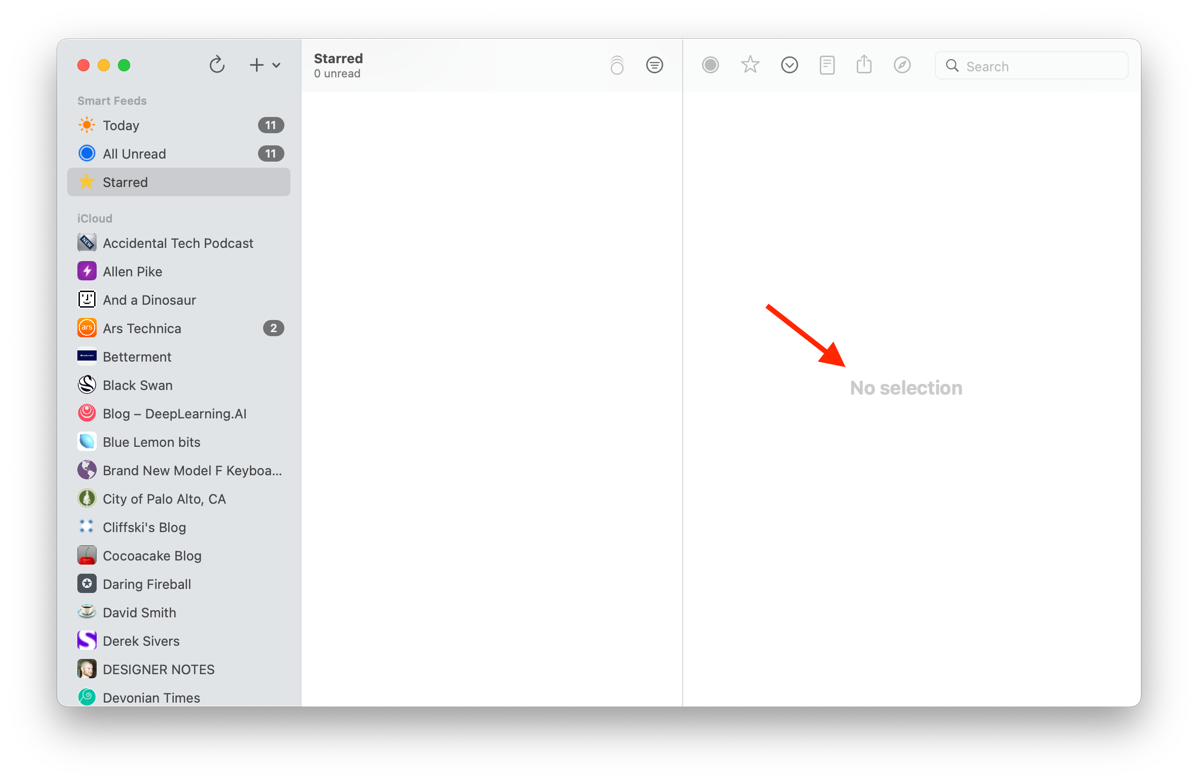
First step is to extract the list of feeds you’re subscribed to, you do that differently depending on the app you’re using:

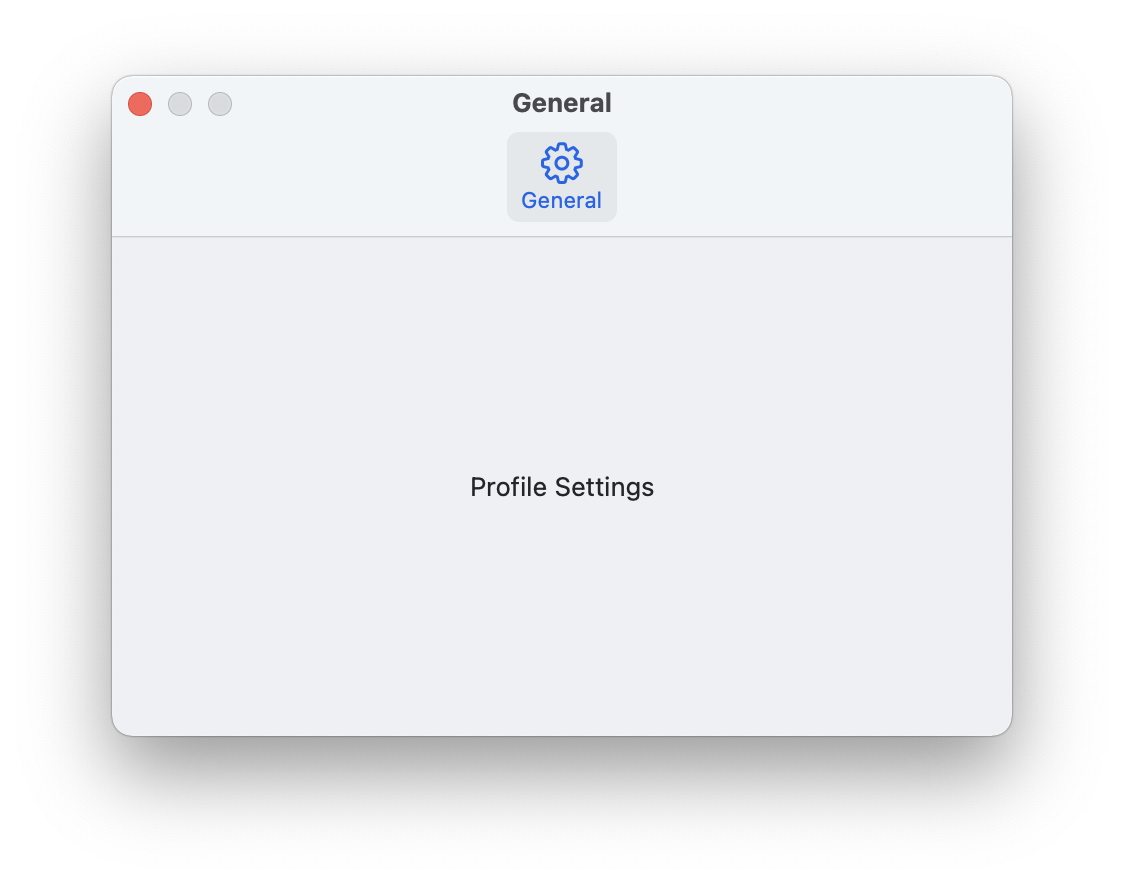
– macOS: Feed -> Export OPML

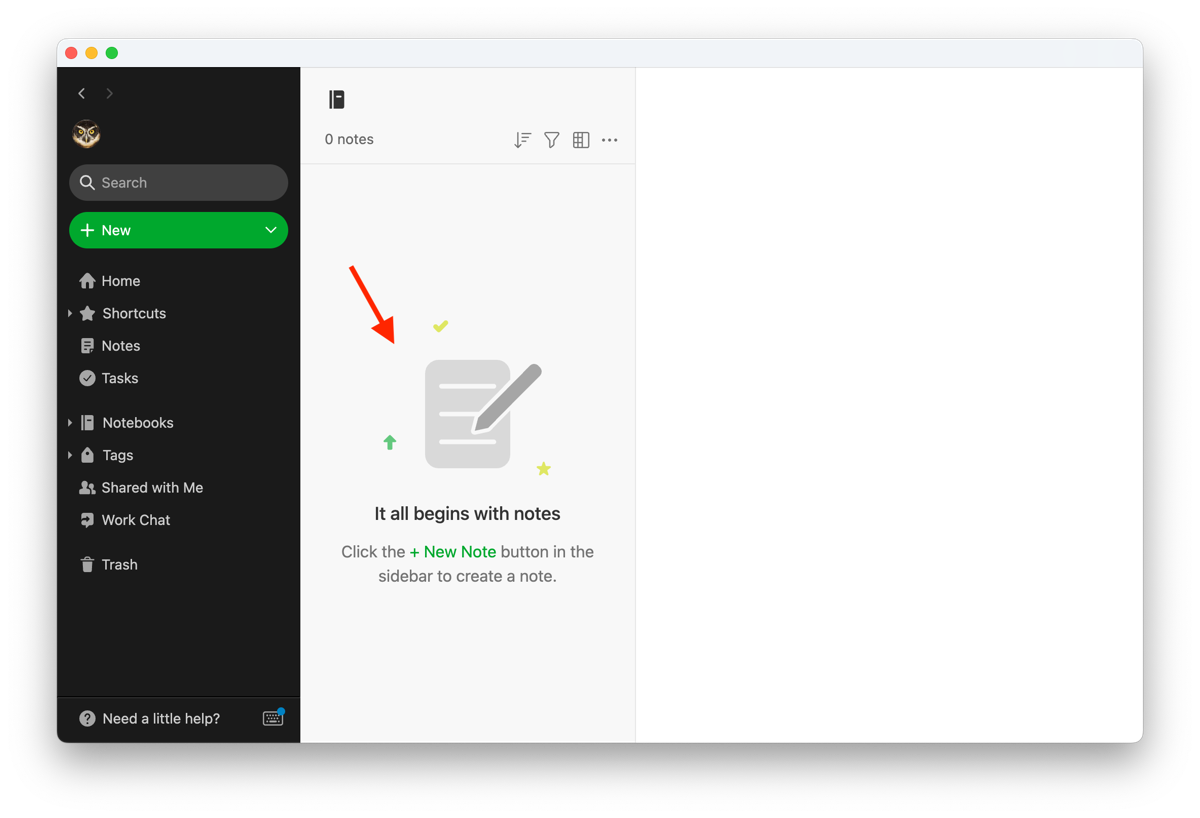
Screen Shot 2021 11 22 at 10 53 59 AM

– iOS: Settings -> Export OPML

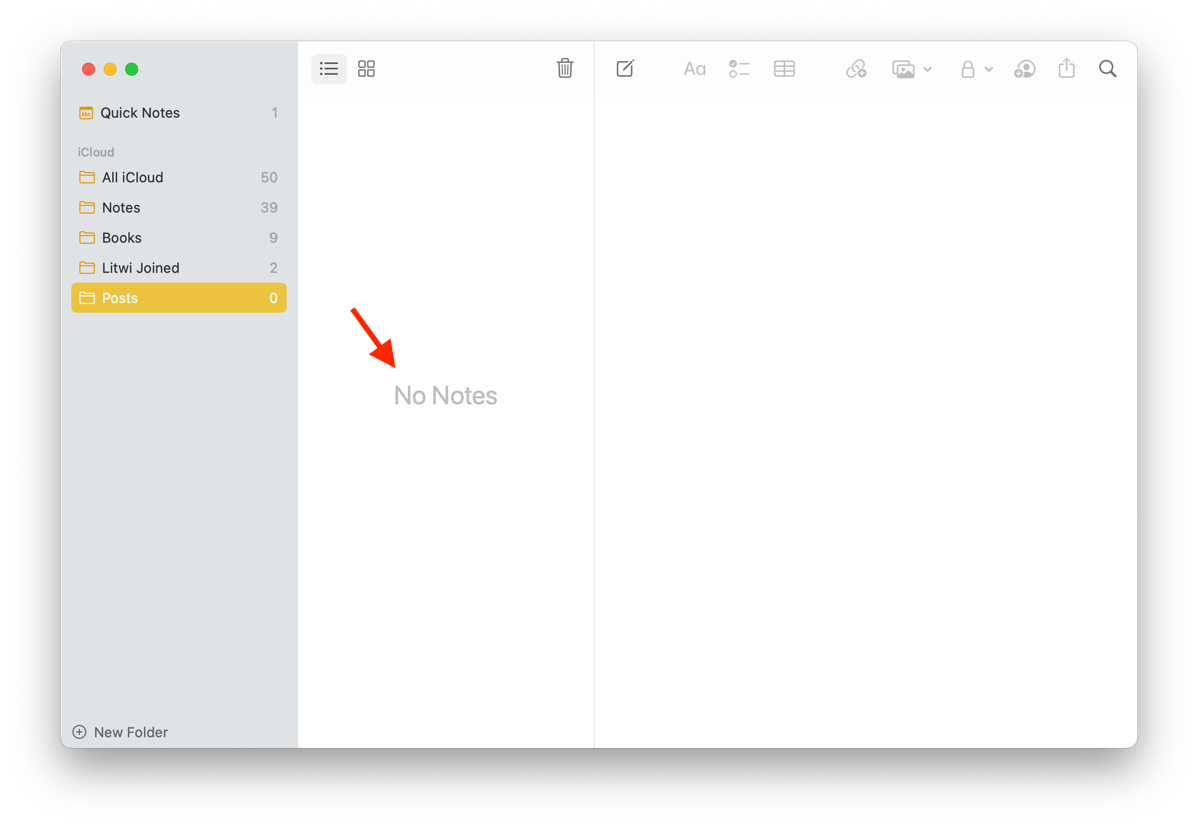
IMG C1611D36FD34 1

That will generate a file that you can then proceed to import in your RSS app of choice. There’s many options, I personally like NetNewsWire as it leverages the latest Apple technologies -like CloudKit-, is available on iOS and macOS and is crazy fast. 

If you ran into any issues during the export process please do not hesitate to drop me a line at contact@mmvsolucions.com 

If you’ve been a user of the app, thank you.  To date, I’ve never worked in an app with such an engaging userbase. Tons of great feedback and always done in a constructive way, much of it translated into app improvements too! This goes to show the type of users NewsWave has had 🙂 Its been a truly rewarding side-project to work on.  

It’s always hard to sunset an app you’ve worked so hard on, at the same time it’s exciting as this frees my capacity to work on new projects. 

I’m considering a follow up post about some of the insights and learnings about NewsWave, let me know if that’s something you’d be interested in reading. 

Until next time, 

Marc

Using NSTextView in SwiftUI

MarsManaged is built on SwiftUI. At the time of this writing, November 2021, SwiftUI is still quite new and catching up to AppKit/UIKit capabilities.

As many early adopters, I found myself in a situation where a key feature I wanted to build for the app was not feasible using only SwiftUI views. I needed good old AppKit.

Thankfully, there’s a way to bridge AppKit & UIKit to SwiftUI so you can use them in your app. Unfortunately, there’s not many great examples out there.

So, I went back to WWDC, digested available documentation and tried to create the simplest template I could come up with to make it easy to adapt it to my/your app needs. In this case I’m bridging NSTextView. 

You can grab it from GitHub here, pasting it also below for your reference:

//

//  MacEditorv2.swift

//

//  Created by Marc Maset – 2021

//  https://bluelemonbits.com

//  https://twitter.com/MarcMasVi

//

import SwiftUI


struct MacEditorv2: NSViewRepresentable {

    func makeCoordinator() -> Coordinator {

        Coordinator(self)

    }


    var theTextView = NSTextView.scrollableTextView()


    @Binding var text: String


    func makeNSView(context: Context) -> NSScrollView {

        let textView = (theTextView.documentView as! NSTextView)

        textView.delegate = context.coordinator

        textView.string = text


        return theTextView

    }


    func updateNSView(_ nsView: NSScrollView, context: Context) {


    }


}


extension MacEditorv2{


    class Coordinator: NSObject, NSTextViewDelegate{


        var parent: MacEditorv2

        var affectedCharRange: NSRange?


        init(_ parent: MacEditorv2) {

            self.parent = parent

        }


        func textDidChange(_ notification: Notification) {

            guard let textView = notification.object as? NSTextView else {

                return

            }


            //Update text

            self.parent.text = textView.string

        }


        func textView(_ textView: NSTextView, shouldChangeTextIn affectedCharRange: NSRange, replacementString: String?) -> Bool {

            return true

        }


    }


}


Hope it helps others. Given its simplicity it should be easy to adopt it to other AppKit / UIKit classes. 

Until next time. Questions / comments? I’m @MarcMasVi

Marc

PS. unnamedd posted a great example a while back, unfortunately is not supporting newer SwiftUI features and was a bit complex to tweak. Still a great read if you’re trying to bridge to AppKit/UIKit. 

MenuBar Items in SwiftUI

Before SwiftUI you would easily add, change or remove menuBarItems from your app Storyboard.

Screen Shot 2021 10 31 at 1 14 34 PM

With the transition to SwiftUI however, there’s no longer a StoryBoard file to edit… So, what now?

After the initial surprise, and having spent a few hours reading documentation… It’s actually a very straightforward three step process:

1. In your @main add “.commands” after WindowGroup 

WindowGroup {

            […]


        }.commands {


           //Here well add the MenuBarItems


        }

2. Then you have a couple choices: you can replace existing CommandGroups (like File-> New), enhance them with more options, or create a new MenuBar groups altogether. 

First, lets look at how you would create new MenuItems:

CommandMenu(“New menu”) {

    Button(“Some message”) {

        print(“Hello World!”)

    }.keyboardShortcut(d”)


    Button(“Second message”) {

        print(“Hello World2!”)

    }


    Picker(selection: $selection, label: Text(Selection”)) {

        Text(“Option 1”).tag(1)

        Text(“Option 2”).tag(2)

        Text(“Option 3”).tag(3)

    }

}

Yes, you can even create a picker!

But wait, if instead you’d like to replace or add to an existing menu:

CommandGroup(before: CommandGroupPlacement.newItem) {

        Button(“Something”) {

           //

        }

    }


    CommandGroup(replacingCommandGroupPlacement.newItem) {

        Button(“Something”) {

            // 

        }

    }


    CommandGroup(afterCommandGroupPlacement.newItem) {

        Button(Something”) {

           //

        }

}


Finally, what about cases where you’d like to trigger complex actions from a MenuBarItem? Well, you can create a SwiftUI class for it. 

Here’s how you would use the classes in the .commands section:

}.commands {

            //Check if we’re in task menu

            NewItem(ccd: ccd, viewContext: persistenceController.container.viewContext)

            DeleteItem(ccd: ccd, viewContext: persistenceController.container.viewContext)

            PinElement(ccd: ccd, viewContext: persistenceController.container.viewContext)

            Help()


        }

And here’s the contents of one of them for reference, in this case replacing the help menu with my custom buttons:


import SwiftUI


struct Help: Commands {

    var body: some Commands {

        CommandGroup(replacing: .help, addition: {

            Button(“Help”){

                let helpLink = “http://bluelemonbits.com”

                NSWorkspace.shared.open(URL(string: helpLink)!)

            }

            Button(“Contact us”){

                let service = NSSharingService(named: NSSharingService.Name.composeEmail)!

                service.recipients = [x@x.com”]

                service.subject = “Feedback \(arc4random() % 100000)

                service.perform(withItems: [” \nFeedback: \n”])


            }

        })

    }

}


Hope it helps! Questions/feedback? I’m @MarcMasVi

Until next time, 


Marc


PS: Some related articles on this very topic

Preventing edits in TextFields unless cell is selected

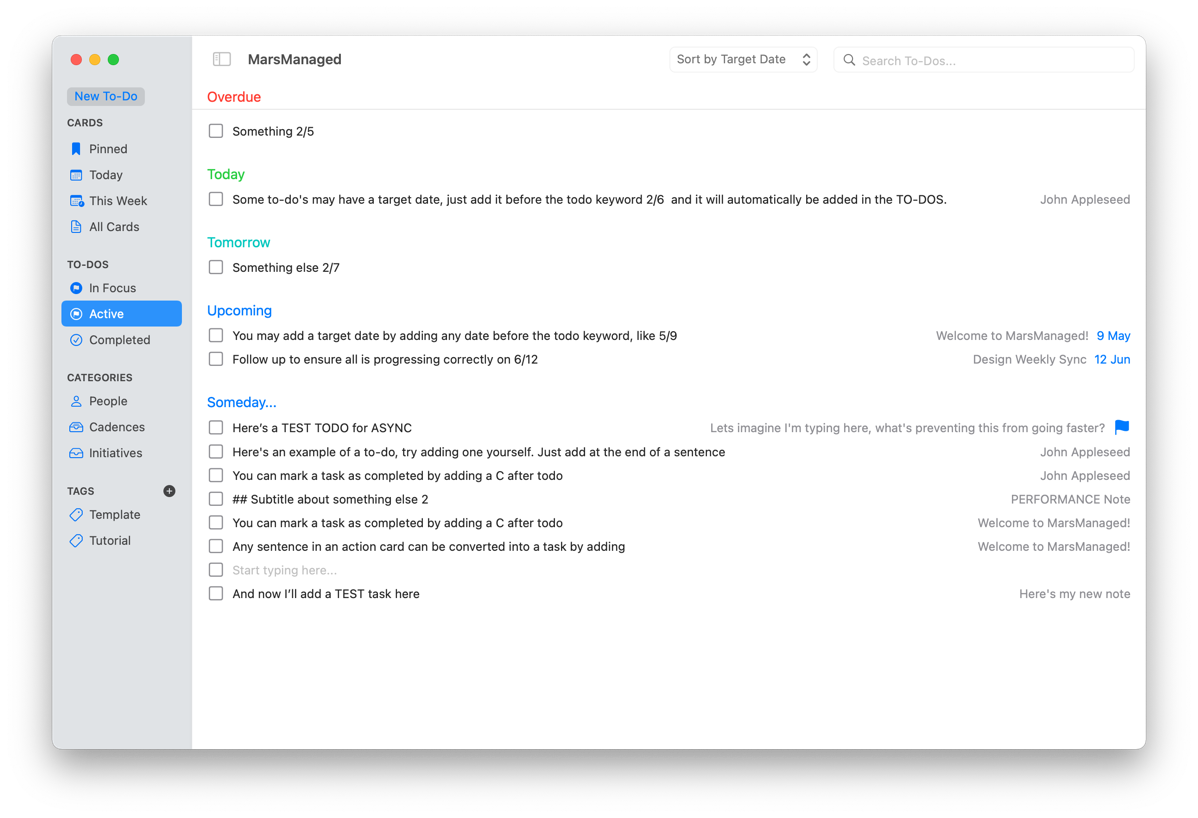
For the ToDo section in MarsManaged, the goal is for the user to see and quickly manage their upcoming tasks. 

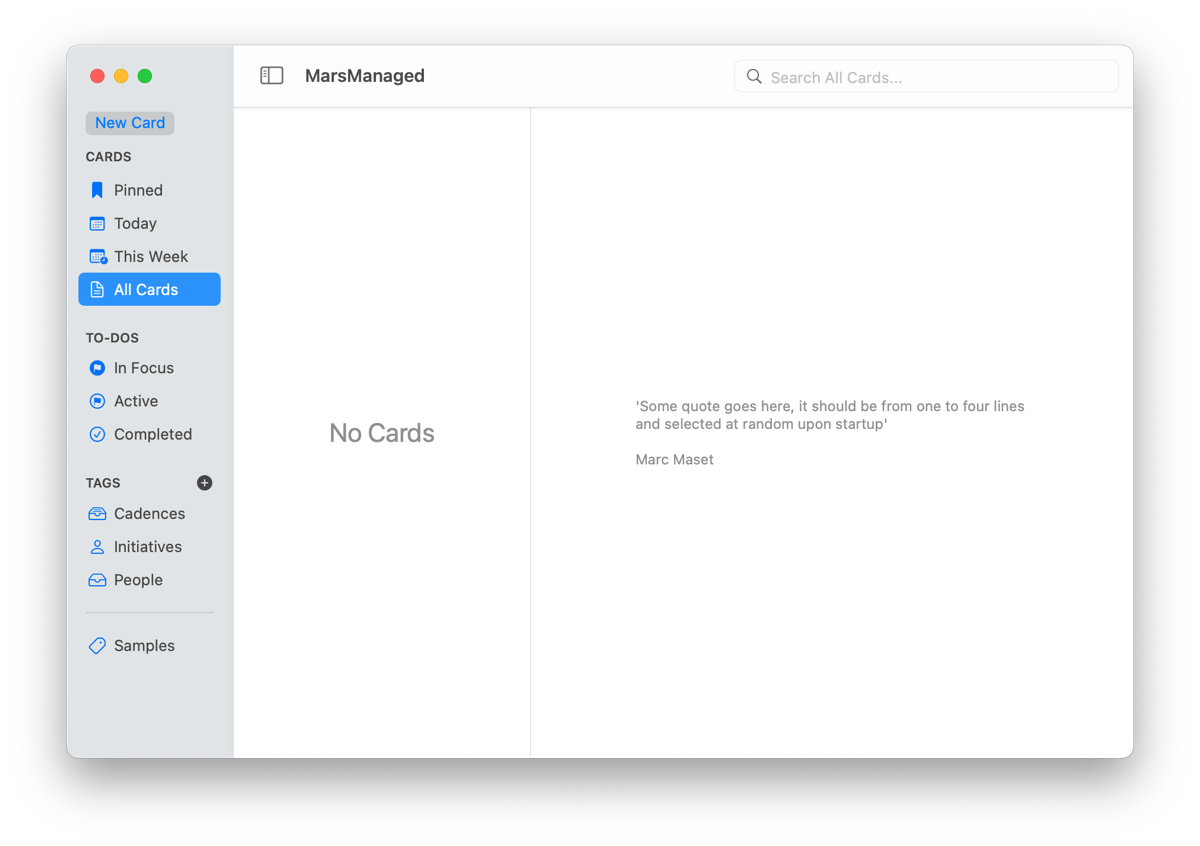
Screen Shot 2021 10 30 at 6 09 57 PM

The user should be able to easily tweak bookmarked tasks, set target dates, complete or delete them.

Now, given that each cell is composed of multiple editable TextFields, it’s important to prevent unintended editing on cells that are not currently selected.

Otherwise the user inadvertently could:

– Edit text in a cell that’s not selected.

– When attempting to select a cell, if the click lands on text, they would directly start editing it -even though the cell would not be selected-.

– Right click on the TextField would result in all text being selected and wrong context menu options being shown. 

Screen Shot 2021 10 30 at 6 16 43 PM

For instance, in the image above the second cell is selected but the user can click in TextField 1 from the first cell and start editing -while the second cell is still selected-.

So, how can we ensure only the selected cell is editable? Well, there’s two options:

a) You can add a modifier to make cells disabled when they are not selected:

TextField(Placeholder…”, text: $task.content.boundAndClean, onCommit: {

         .disabled(selectedTaskId! != task.id)

}


b) You can add a different modifier to only register clicks when the cell is selected.  

TextField(Placeholder…”, text: $task.content.boundAndClean, onCommit: {

          .allowsHitTesting(selectedTaskId! == task.id)


}

Important to note is that if you disable the TextField, the text will appear in a different color. However, allowsHitTesting does not affect color at all. 

This closes yet another item on my list for MarsManaged. It’ll when ship when its ready, but I expect to start early testing in the next couple months. If interested & are running macOS Monterey drop me a line at contact@mmvsolucions.com

Until next time, 


Marc

SwiftUI modifier order matters

This Sunday I spent pretty much all day working on MarsBased.

I woke up early, went to the gym, made myself some coffee and got to work. 

Screen Shot 2021 10 18 at 8 45 12 PM

In front of me was a prioritized list of “feature enhancements” my wife had prepared for me -she’s an excellent Product Manager so she always has great feedback- after testing the app a day early. 

I started going through the list… First couple of suggestions were icon changes which I dispatched in about 5m. Off to a great start. 

Now I reach what is supposed to be an extremely easy one: add contextMenu to the TODO tasks. In essence, for each task you should be able to right click and you’d see a couple options: delete, focus, complete… Easy right? Right?

Well, should have been. Turns out when I added the contextMenu, selection stopped working… You could right click, and would see the options, but normal selection would not work anymore.

Screen Shot 2021 10 18 at 8 51 10 PM

Then I realized -after much, much, much searching and try and error-, that selection would work again if instead of using a Int as the tag I would use an Int64. Why you ask? Excellent question, absolutely no idea.

Solved right? Well.. No

Now the challenge was @SceneStorage would not work with Int64. I could make it work with @State mind you, but not with @SceneStorage… And most importantly, I did not know what was going on which made this approach -even if it were to work (which it did not)- a no go. 

At this point I had been at least four hours working on this and there was no solution in sight…

In the end, I decided not to waste more time. I was stuck, and have enough experience to know (usually) when to stop. 

Went for a walk, relaxed in the garden and went to sleep. Today, after work I decided to take another crack at it. This time I tried a different approach.

I created a new SwiftUI file and started from scratch, testing different combinations of ForEach or Lists. And what do you know, it worked on the first try… Wait what? I compared the code, it was essentially the same, what’s was going on there… 

OH… I… SEE…

If you use a tag modifier before the contextMenu, selection will stop working. If you first have the contextMenu modifier and then the tag modifier it works great… Good to know. 

So that’s it, about 6 hours of my life debugging something that turned out to be the order of modifiers. 

Learn from my misakes, modifier order matters 🙂 

Until next time, 

Marc

NewsWave for Mac 2022.0 (macOS Monterey compatibility update)

Today was Keynote day! And what a day, the new MacBook Pro’s look amazing and we have release dates for macOS Monterey, just a couple days out!

With that in mind I’ve submitted a compatibility update for NewsWave for Mac, version 2022.0. No fancy new features today, this update focuses on compatibility and addresses a couple Monterey-specific bugs. 


Screen Shot 2021 10 18 at 7 28 57 PM

Hope you enjoy it, until next time, 

Marc

Nothing like vacation to recharge batteries

After almost two years of ’stay at home’ vacation this year my wife and I went to Egypt and Jordan. 

I forgot how great is to travel, meeting new people, learning new cultures, visiting new places… It was an extremely enjoyable trip, but more importantly, it helped recharge batteries and come up with new ideas.

IMG 9973

Now that I’m back, in the next couple of weeks I’ll be accelerating work on the new app -idea is to ship shortly after macOS 12 ships- and continuing to work on ML on the side. 

Will keep you posted as the launch nears. 

Until next time, 

Marc


PHP maintains an enormous lead in server-side programming

When I choose the backend code for NewsWave several years ago I went with PHP after listening Marco’s recommending it due to its reliability and stability. After several years I can confirm. 

Apparently a lot of other fellow developers think the same looking at the latest data from Ars Technica.W3techs chart 800x444

If you’re planning a new project, I can’t recommend PHP enough for server-side. It may not be sexy, it may not be cool but it consistently delivers without a hitch. 

Marc

Using NSSortDescriptor to sort Dates and nil values

Today I’ve been working on sorting tasks, as I’m using swiftUI and CoreData I use a FetchRequest with the following SortDescriptor:

NSSortDescriptor(keyPath: \Task.targetDate, ascending: true)

The idea being it will sort based on the task due date from smallest to the largest, meaning you’ll see the ones you should act on first at the top.  

Great right?

Well… Although the sorting works as intended, if you have tasks that have a nil due date they will appear at the top. And, because we’re using the SwiftUI fetch request there’s no easy way to subclass it.

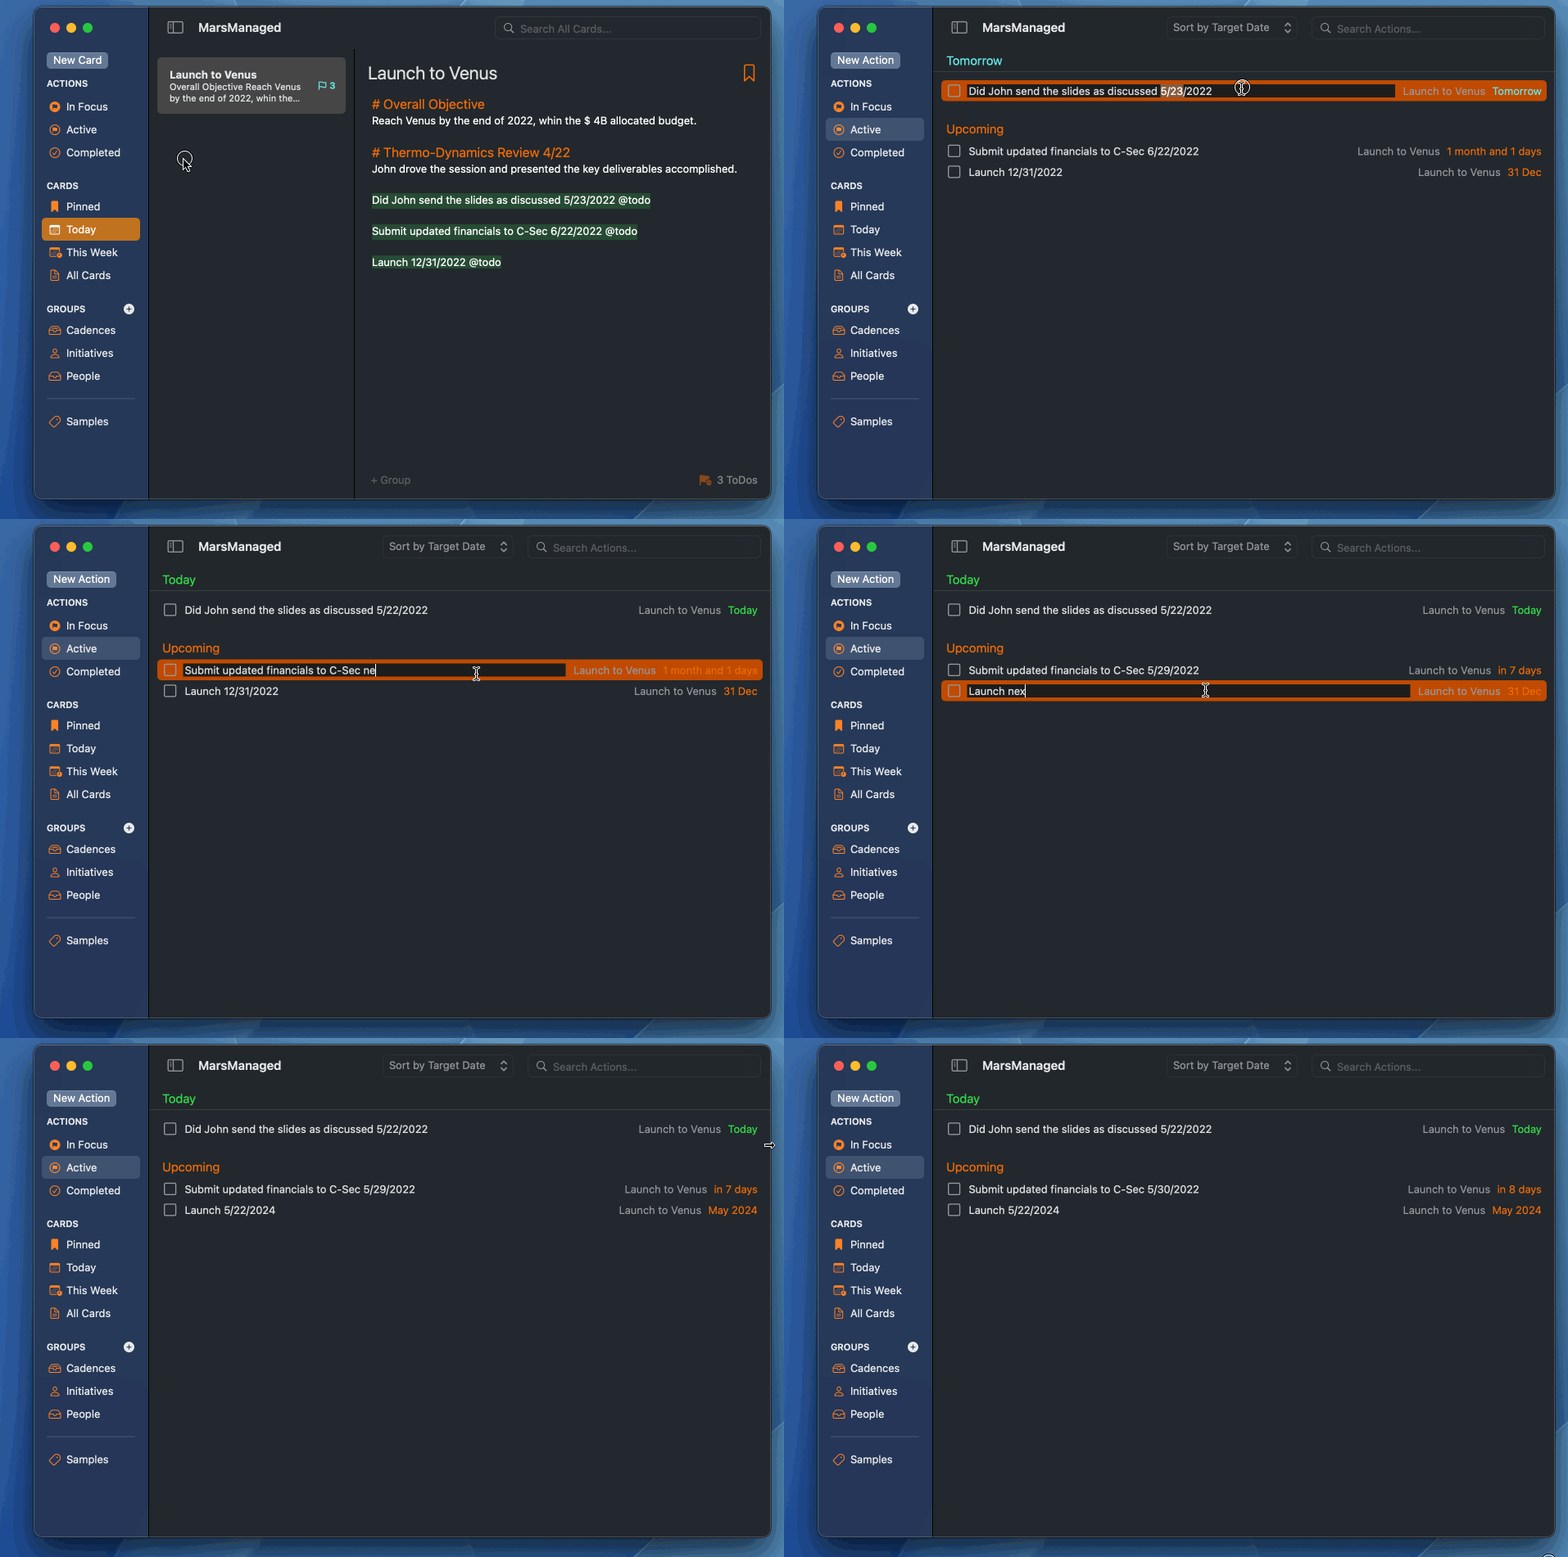
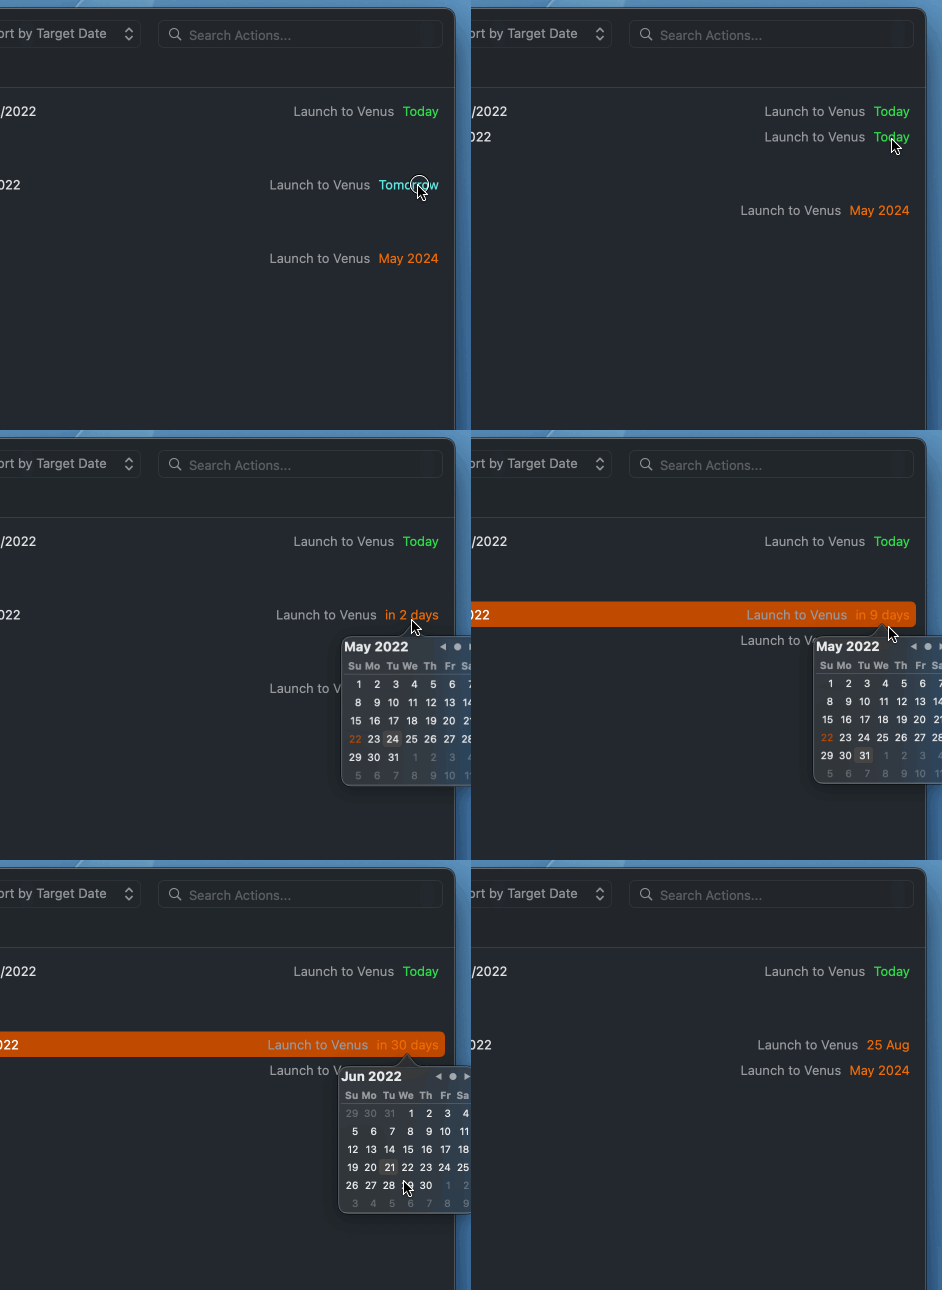
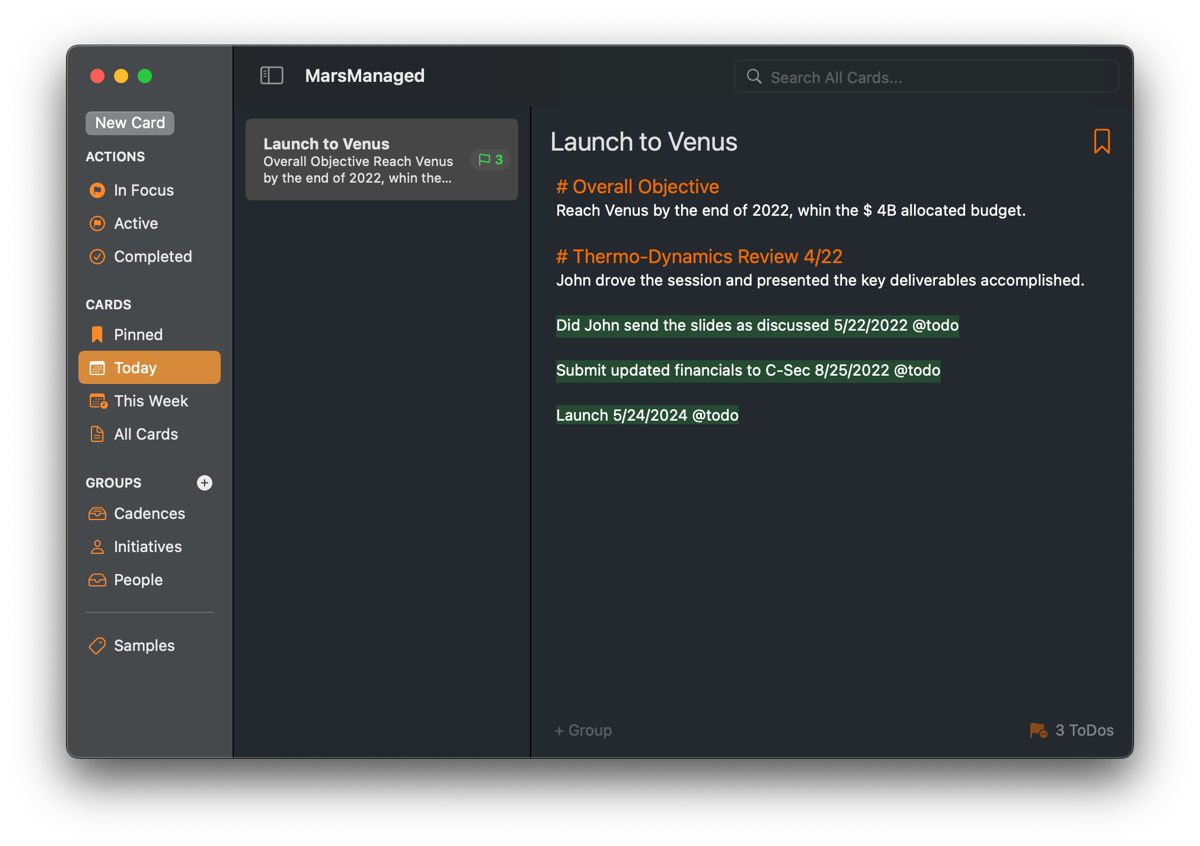
Untitled Artwork

The easiest way around it, combine it with a sorted by within the List, in the View body. Here’s  the implementation:

    var body: some View {

        List(tasks.sorted(by: { ($0 as Task).targetDate ?? Date(timeIntervalSinceNow: 9999999999999) < ($1 as Task).targetDate ?? Date(timeIntervalSinceNow: 9999999999999) }), selection: $selectedTask){ task in

And voila, now appears as intended:

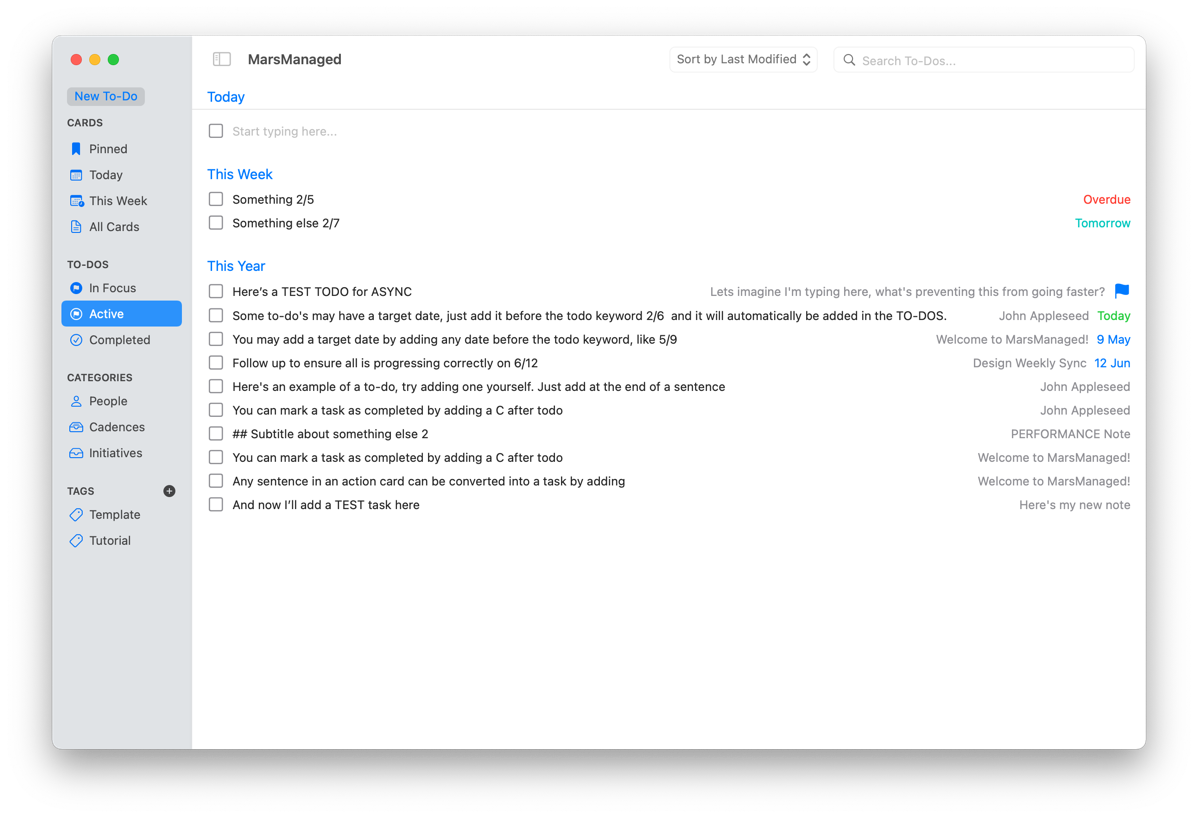
Screen Shot 2021 09 11 at 1 56 48 PM

Hope it helps, if you find a better solution by all means let me know at @MarcMasVi


Marc