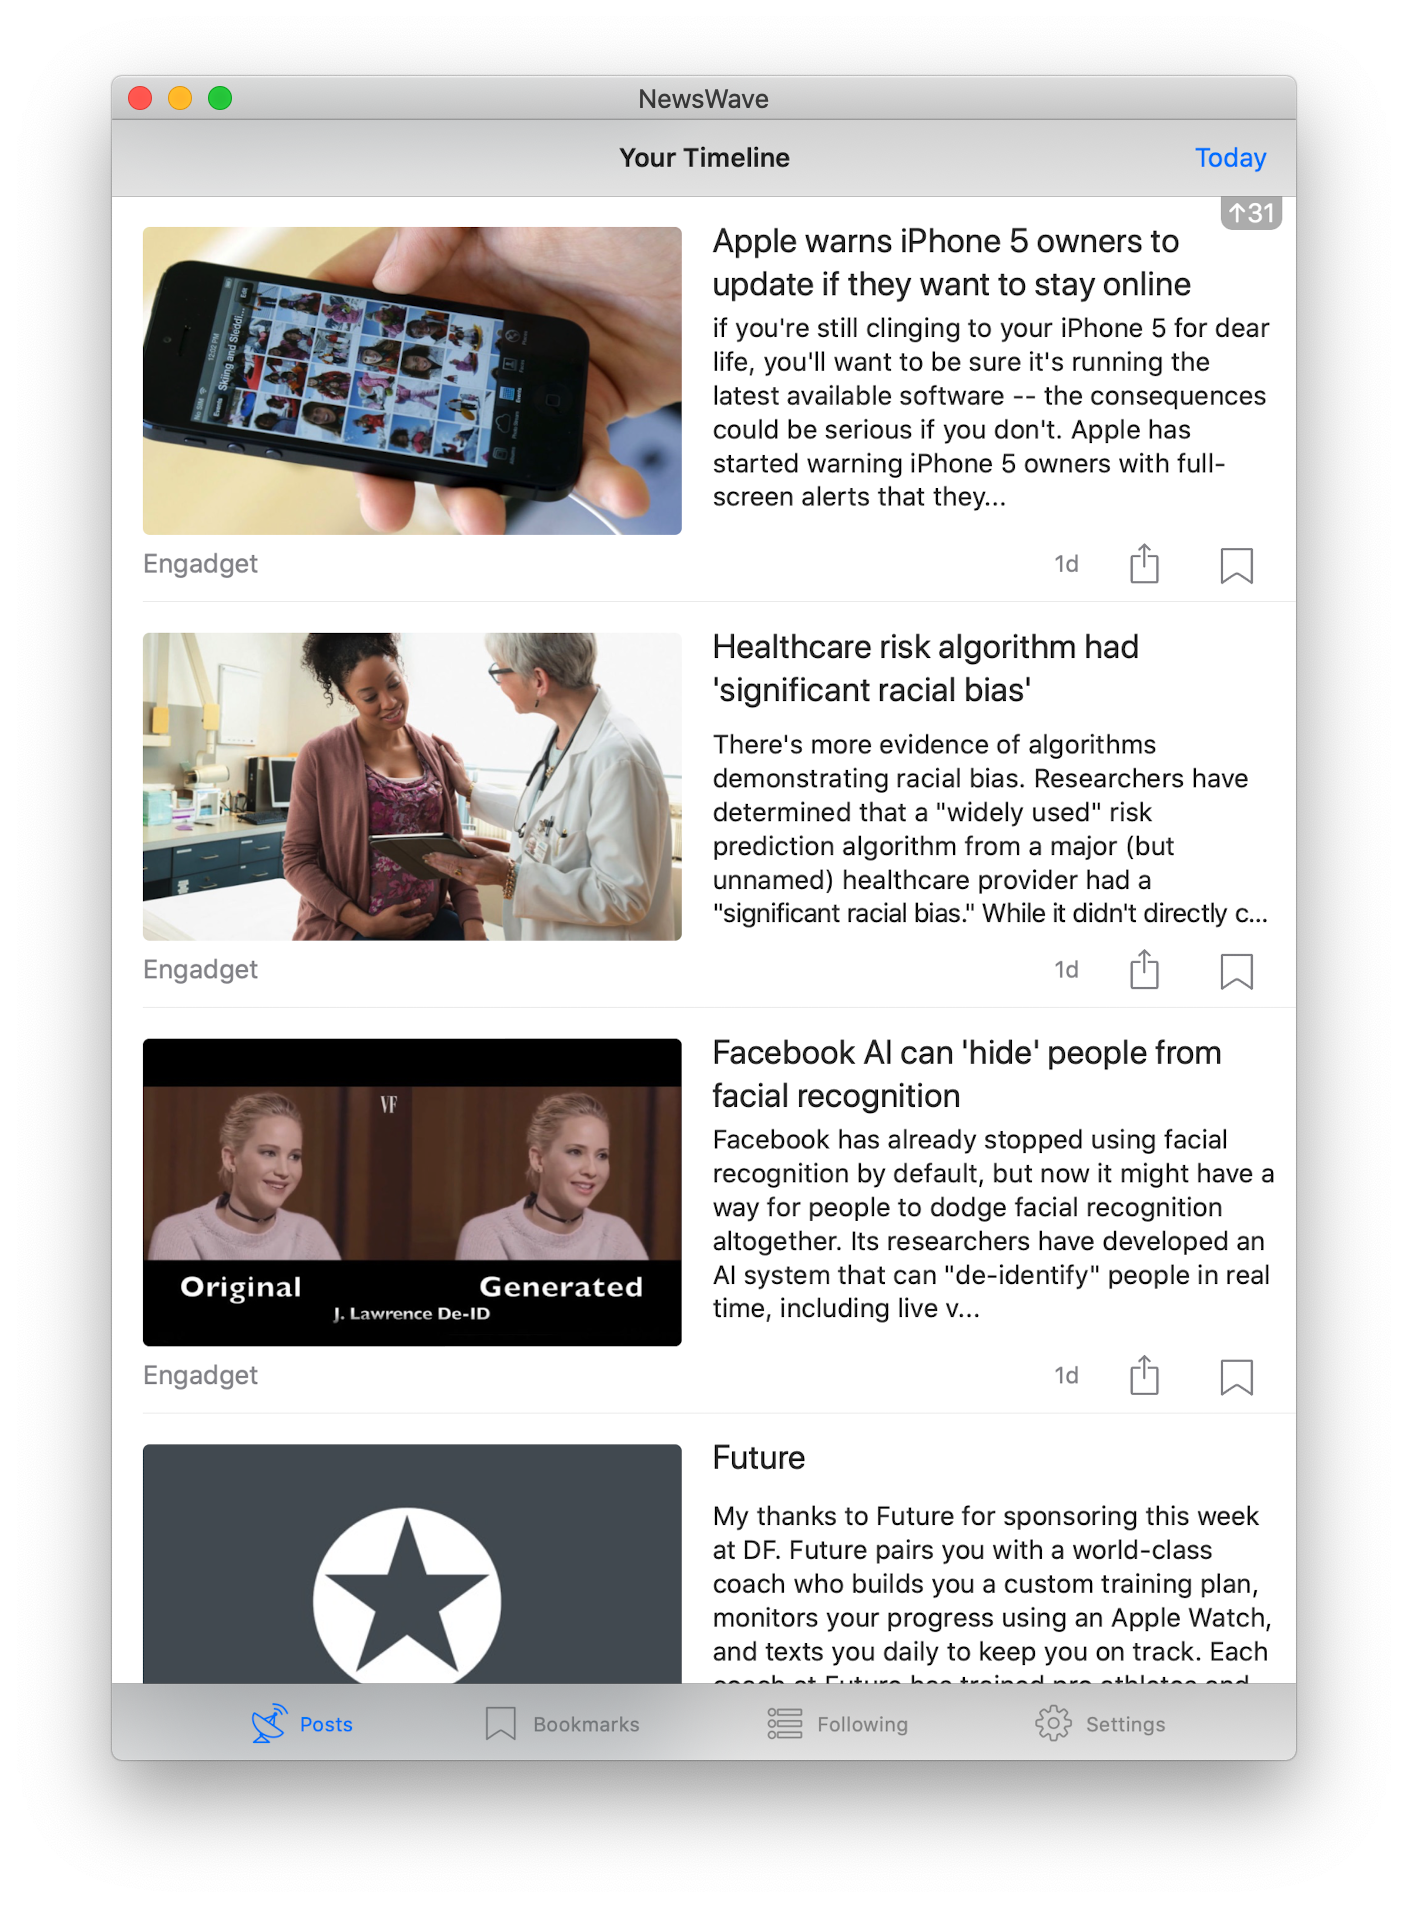
Using DispatchSemaphore to control async execution

I’ve been debugging the upcoming OPML Import functionality of NewsWave and this bug was driving me nuts:  in some cases and for no apparent reason URLSessions would fail without a callback. 

At first the bug seemed random, but after a bit of testing I realized the more feeds I tried to import, the more likely the bug would materialize. 

After looking at error codes from Xcode, the issue seemed to be related to having too many URLSessions opened in parallel. What can I do to fix this? Well, DispatchSemaphore of course! 

Transit

DispatchSemaphore works by allowing certain execution cycles to go through and holding the rest until you signal its time to continue. Here’s an example of how it works, in this case I’m allowing up to 20 simultaneous queries:


let semaphoreOfImportQueries = DispatchSemaphore(value: 20) //Starting
with 20 credits.

for iteratorOfFeeds in feedImportQueries{

       //Wait reduces semaphoreOfImportQueries by
1, if it reaches 0 the execution will wait here

semaphoreOfImportQueries.wait() 


       self.functionThatCallsAnAPIAndExecutesAsync(completionHandler: { _ in

           //Signal allows the next process to start by adding 1 to semaphoreOfImportQueries

semaphoreOfImportQueries.signal() 


        })

}

This is a great tool to have in your toolbox when dealing with URL Sessions. Important though, this should always be executed on a background thread else you’ll block the main queue.


Marc

—-


Twitter -> @MarcMasVi     |     Micro.blog -> @MarcMV

NewsWave 2019.6 Progress – 4th of July Holiday

With July 4th landing on a Thursday my wife and I decided to take Friday off and go on a motorcycle trip to Santa Barbara. It’s a 4 hour drive from Palo Alto, 7 it you take the scenic route, and it’s totally worth it. The city is charming, the food is great and the beach is perfect for long walks. 

The key to shipping apps on the side is to always put in the hours, so I worked extra hard the previous weekend, during the week and when returning from the trip today (Sunday). Overall I’m quite happy with how the planning turned out. 

Enough rambling, where am I on the NewsWave 2019.6 key features? 

OPML Export works like a charm, it’s ready to ship. When you trigger it you’ll get a UIDocumentInteractionController asking what you’d like to do with the file: mail, save to file, open in another app… 

OPML Import functionality is there but there’s a couple of things that need fine tuning.

  • Progress indicator: in its current form you see a message saying it’s importing feeds but not how many have already been processed vs. total (specially relevant if you’re importing hundreds of feeds).
  • Incorrect states: in some rare cases one of the URLSessions fails without a callback, this leads to the UIAlertController “Importing Feeds…” never disappearing as the app believes a feed is still being processed.
  • Result logs: I’m conflicted about showing it or not, most apps don’t seem to do it. I’m erring on the side of showing how many have been imported successfully which is what most apps do.

On the “Performance Improvements & Bug Fixes” front, I’ve done several changes that result in reduced peak CPU consumption and tweaked the way saving happens to avoid multithreading racing conditions, now all saving is done in a specific synchronized queue. This will hopefully address a rare bug that could lead to old content mysteriously disappearing from a user device. 

The final key feature of 2019.6 is creating a “Default mix of feeds for new users”: I’m not sure if I should automatically subscribe new users to the default mix of feeds -ala NetNewsWire– or give users the option during the on-boarding process. If I show them the option during the on-boarding process a follow up question is, should I give them one “NewsWave” default mix, or a couple of mixes to choose from? Questions, questions… 

Until next week,


Marc

—-


Twitter -> @MarcMasVi     |     Micro.blog -> @MarcMV
NewsWave 2019.6 Plans

After a couple of releases focused on bug fixes and usability improvements I’m pumped to be working on the first feature update.

2019.6 will focus on adding two of the most requested features:
– OPML Import / Export.
– Default mix of feeds for new users.

In retrospect I should have absolutely shipped with OPML support from the start. At the time I believed most new subscribers would also be new to RSS… WRONG assumption!

I suspect OPML Import/Export to be a bit tricky to implement, still debating if I should develop a new server API or leverage the existing subscription one and call it multiple times… For now I’m more inclined to go with the latter approach as its less code to maintain.

As for the “default” mix of feeds for new users, I’ll be using some of the top subscribed feeds across several subjects. I expect this “default” mix to be used by newcomers to RSS so ideally the user should get around 30 posts a day, not too few, not too many.

Screen Shot 2019 06 28 at 18 08 18
Most Subscribed Feeds in NewsWave. Interesting fact, Daring Fireball has twice the number of subscribers than the second most subscribed feed btw.

In addition to the features above there will be several fine tuning changes as well, to mention a few:
-Optimized feed article management.
-Sync improvements when cascade deleting feeds.
-Improved “Today” behavior.

If all goes well I expect 2019.6* to ship at the end of July, will be sharing more on the import OPML process soon.

Until next week,


Marc

—-


Twitter -> @MarcMasVi     |     Micro.blog -> @MarcMV
*As Castro, Slopes and Overcast I’ve adopted a date-based version-numbering scheme — 2019.6 is the sixth update released in 2019.

Choosing the Right App to Develop

Over the course of my 8 years developing apps on the side I’ve shipped 5 apps.

Deciding what to work on and creating a new project in Xcode is about one of the best feelings in the development world. Everything seems possible, there’s so many ideas to test and none of the complexity is yet visible.

It becomes harder once you start to work on the complex pieces, when you start working on bug fixing, when you focus on polish… Even more when you work on it when you’re not at your best: after a 9 to 5 day of hard work, after your wife/girlfriend goes to bed, in between running errands on a weekend, etc.

IMG 6266

To me, the key to overcome the hardships that come with developing on the side is to have passion for what you are creating. Yes, you should think about the monetary angle up front, but if you’re not passionate about what you’re building, if you only think about the monetary angle, it will be very difficult to avoid saying “I’ll do it tomorrow” and go to bed, grab a drink, go for a walk…

Here’s an example of two of the apps I’ve developed for reference: the first one I ever build and the last one I recently shipped.

EXCELLING

Excelling is a reference guide for Excel Users. Yes, you read that right. How could I be motivated by a reference guide? Two reasons:
1. I worked as a Business Analyst at the time, Excel has a lot of functions but discoverability was awful. I really wanted an app like Excelling to exist.
2. It seemed a reasonably easy app to build as my first app.

IMG 1752

I will cover it in more length in another post, it is a niche app, but is still performing well today (800 downloads/month).

NEWSWAVE

NewsWave is a twitter style RSS reader. All articles appear in a chronological timeline and you can easily discover & follow feeds thanks to its growing directory.

IMG 3388

Why I’m passionate about it? The internet is a huge positive force if used correctly: vast amounts of knowledge, diversity of opinions… However, as companies monopolize content and optimize for clicks we are inadvertently reinforcing biases and creating an increasingly polarized society.

With this project I intent to:
1. Contribute to the open web by making RSS easier to use for the average user.
2. Making discoverability of great content easier (WIP).
3. Create a ML model geared toward providing other points of view for the news you read (WIP).

There’s a lot coming next which I’m extremely excited about, will be posting about it in upcoming posts.

When thinking about your next project on the side, you might want to work on something you care about. That’s what will make it easier to overcome the inevitable difficulties that appear on the path to shipping.

Marc

—-

Twitter -> @MarcMasVi     |     Micro.blog -> @MarcMV
//Brent Simmons recently re-released NetNewsWire, hands down one of the best Readers out there for the Mac. As an aside, he is also one of the inspirations behind NewsWave.

//David Smith summarized the stages of developing an app very well:
1) Curiosity
2) Excitement
3) Productivity
4) Dispair
5) Polish
6) Ship

An experiment….

After a recent conversation I’ve decided to try something new with this blog. An experiment…

For the next few weeks, every Sunday, I’ll be sharing the experiences of developing apps on the side: the challenges , the successes, the struggles…

I’ll also be sharing details on what I’m working on, why I’m doing it and how I’m doing it. You’ll see how feature updates affect app download numbers and be part of the rollercoaster of sensations that is App Development.

If you feel this may be fun for you, read on…

How to start? For this first post maybe an introduction is in order: my name is Marc, millennial born in Barcelona and since some time ago living in California. I have a regular job during the day and, evenings and weekends, I spend a significant part of my time thinking about or developing apps.

My latest one, and the one I’m focusing most of my time on, is NewsWave -a Twitter-like RSS reader-.

I always choose projects I’m passionate about and I believe RSS has a lot of unexplored potential. I’ll write more about NewsWave development and my experiences with past apps in upcoming posts.

Until next Sunday, 

Marc

NewsWave Released

During the last couple of months I’ve been working on a new take on the RSS Reader.

With so many options out there (NetNewsWire, Unread, Reeder….), why would I go and develop another one? 

The main reason is I wanted to create an RSS reader that would be extremely accessible to use for the average user. I had many ideas on how that could be approached, but in the end I settled on the following four principles:

-Easy subscription to feeds thanks to a growing searchable directory. 

-One unified chronological twitter style timeline for posts.

-Private tokens to identify users, effectively making all users anonymous. 

-A central server to allow syncing, reduce data consumption and backup all information.


Here’s the first conceptualization of what would become the new app, things have changed here and there but it’s incredible how many similarities the final app has with the original concept:

NewsWave first sketch


One of the decisions I struggled the most with was the business model, in the end -considering also the ongoing server costs- I settled with:

1. One time in app purchase that creates the user token and gives them 30 days to try the app with all features. This is not a subscription and therefore will not auto-renew. 

2. After 30 days they may decide to (ideally) subscribe for a $ 19.9 / year or use the app for free in “Basic Mode” -limiting daily fetches to 3 and disabling bookmark & position sync between devices-. 

As for the App Icon, I decided to go with an “in house” option and -depending on the app reception- hire a designer to improve it. 

140x140


Stacks image 59ea79d 942x942 2x


That’s the story of NewsWave, you can grab it from the app store and find its website here

How is the app doing? I’ll post shortly about that. 

Comments / questions? I’m at @MarcMasVi 


Marc

Create UIButton in code (swift)

Adding and customizing UIButtons in storyboard is extremely easy (and I would recommend doing it that way whenever possible), but what if you need to do it yourself in code?

The process takes only couple of lines of code, but it can escalate quickly if you add multiple buttons. To keep code clean I’ve created a quick function to create them quickly:

    func createNewUIButton(title: String, textSizeDelta: CGFloat?, backgroundColor: UIColor?, cornerRadius: Bool, cornerColor: UIColor?) -> UIButton{


        let button = UIButton(type: .system)

        button.translatesAutoresizingMaskIntoConstraints = false

        button.setTitle(”  \(title)  “, for: .normal)

        button.titleLabel!.font = UIFont.systemFont(ofSize: UIFont.systemFontSize + (textSizeDelta ?? 0))

        if backgroundColor != nil{

            button.backgroundColor = backgroundColor!

        }

        if cornerRadius == true{

            button.layer.masksToBounds = true

            button.layer.cornerRadius = 7.5

            button.layer.maskedCorners = [.layerMaxXMaxYCorner, .layerMinXMaxYCorner, .layerMaxXMinYCorner, .layerMinXMinYCorner]

            button.layer.borderWidth = 2

            button.layer.borderColor = cornerColor?.cgColor ?? UIColor.darkGray.cgColor

        }


        return button


    }


Once you get the button make sure you add constraints (if needed) and action and you’re good to go!

For reference, example of adding the action after you’ve instantiated the button:

button.addTarget(self, action: #selector(FUNCTION_GOES_HERE), for: .touchUpInside)


Questions / comments / suggestions? @MarcMasVi 

Marc

Animating UIView by changing constraints

That’s one of the most fun and easiest animations you can do.

First, let’s make sure we know what constraint to change: you’ll have to make sure you either have the constraint as an @IBOutlet or -if you’ve added in code- make sure you add an identifier to it. 

Then you’ll trigger a constant change within an animation block, in this first example we’re using the identifier to find the right constraint:

        UIView.animate(withDuration: 0.2) {

            let identifyTheRightConstraint = self.parent!.view.constraints.filter{ $0.identifier == “distanceOfMessageToTop” }

            if let constraint = identifyTheRightConstraint.first{

                constraint.constant = 0

            }

            self.parent!.view.layoutIfNeeded()


        }


Or this is you’re using an @IBOutlet

        UIView.animate(withDuration: 0.2) {


            IBOutletConstraint.constant = 0


            self.parent!.view.layoutIfNeeded()


        }


It’s very important that you’re triggering layoutIfNeeded() for the parent view of the view you’re changing the constraints on. And that’s it!  

Questions / comments / suggestions? @MarcMasVi 

Marc

Opening links in Safari / Embedded Safari – iOS

In iOS you can either do it with a push:

let safariVC = SFSafariViewController(url: URL(string: “www.google.com”)!, configuration: .init())


present(safariVC, animated: true, completion: nil)


or directly in the Safari app:

UIApplication.shared.open(URL(string:www.google.com”)!, options: [:]) { (_) in }


Very practical, 


Marc

Reloading/inserting Dynamic Height cells and keeping Scroll position

For an upcoming app I had to insert Dynamic Height cells while keeping the tableView offset -scrolling position- constant. This would typically be a trivial issue, but given that when using Dynamic Height cells nor the contentSize nor the offset can be trusted it’s a bit more tricky than it seems…

What I was trying to do was adding cells at the top of my tableView without any scroll taking place, similarly to what Twitter, Tweetbot or Twitterrific apps do. 

Screen Shot 2018 12 30 at 6 17 23 PM

Green cells in the “After” scenario show how the new cells have been inserted at the top, without affecting scrolling. 

The approach that ended up working smoothly was:

Step 1. Storing in a variable the UITableViewCell below the Navigation Bar and storing the offset of that cell in relation to the Navigation Bar. 

Step 2. Insert cells / reloadData.

Step 3.Scroll to the cell we saved before the insert/reload and then add the offset. 

Here’s the code:


        UIView.performWithoutAnimation {

            //Step 1 Detect & Store

            let topWillBeAt = getTopVisibleRow() + countOfAddedItems

            let oldHeightDifferenceBetweenTopRowAndNavBar = heightDifferenceBetweenTopRowAndNavBar()


            //Step 2 Insert

            self.tableView.insertRows(at: arrayOfIndexPaths, with: .none)


            //Step 3 Restore Scrolling

            tableView.scrollToRow(at: IndexPath(row: topWillBeAt, section: 0), at: .top, animated: false)

            tableView.contentOffset.y = tableView.contentOffset.y – oldHeightDifferenceBetweenTopRowAndNavBar


        }


And supporting functions:

    func getTopVisibleRow () -> Int {

        //We need this to accounts for the translucency below the nav bar

        let navBar = navigationController?.navigationBar

        let whereIsNavBarInTableView = tableView.convert(navBar!.bounds, from: navBar)

        let pointWhereNavBarEnds = CGPoint(x: 0, y: whereIsNavBarInTableView.origin.y + whereIsNavBarInTableView.size.height + 1)

        let accurateIndexPath = tableView.indexPathForRow(at: pointWhereNavBarEnds)

        return accurateIndexPath?.row ?? 0

    }


    func heightDifferenceBetweenTopRowAndNavBar()-> CGFloat{

        let rectForTopRow = tableView.rectForRow(at:IndexPath(row:  getTopVisibleRow(), section: 0))

        let navBar = navigationController?.navigationBar

        let whereIsNavBarInTableView = tableView.convert(navBar!.bounds, from: navBar)

        let pointWhereNavBarEnds = CGPoint(x: 0, y: whereIsNavBarInTableView.origin.y + whereIsNavBarInTableView.size.height)

        let differenceBetweenTopRowAndNavBar = rectForTopRow.origin.y – pointWhereNavBarEnds.y

        return differenceBetweenTopRowAndNavBar


    }


Questions / comments / suggestions? @MarcMasVi 

PS. On another topic, if you get some jumpy scrolling with Dynamic Height cells I strongly suggest you to look into this question from Stack Overflow. 

Marc