With its retirement approaching, here’s some trivia about NewsWave:

ONBOARDING
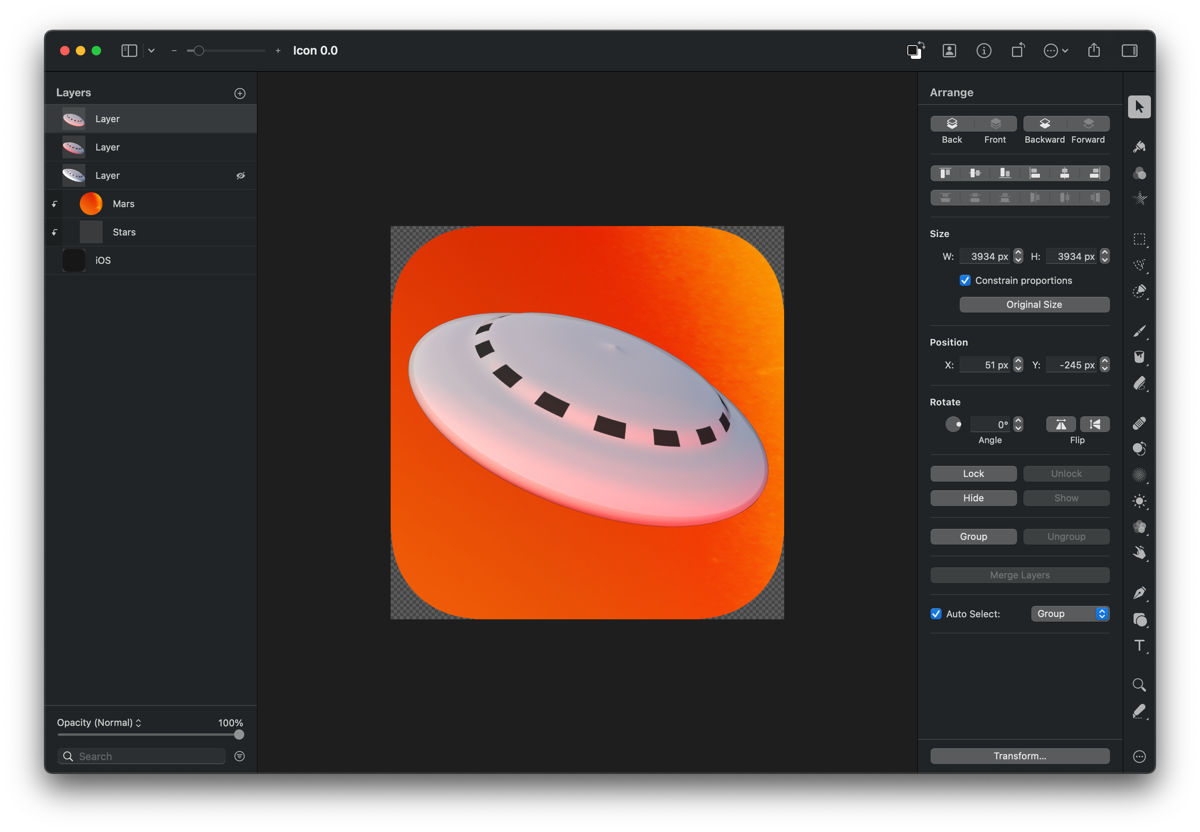
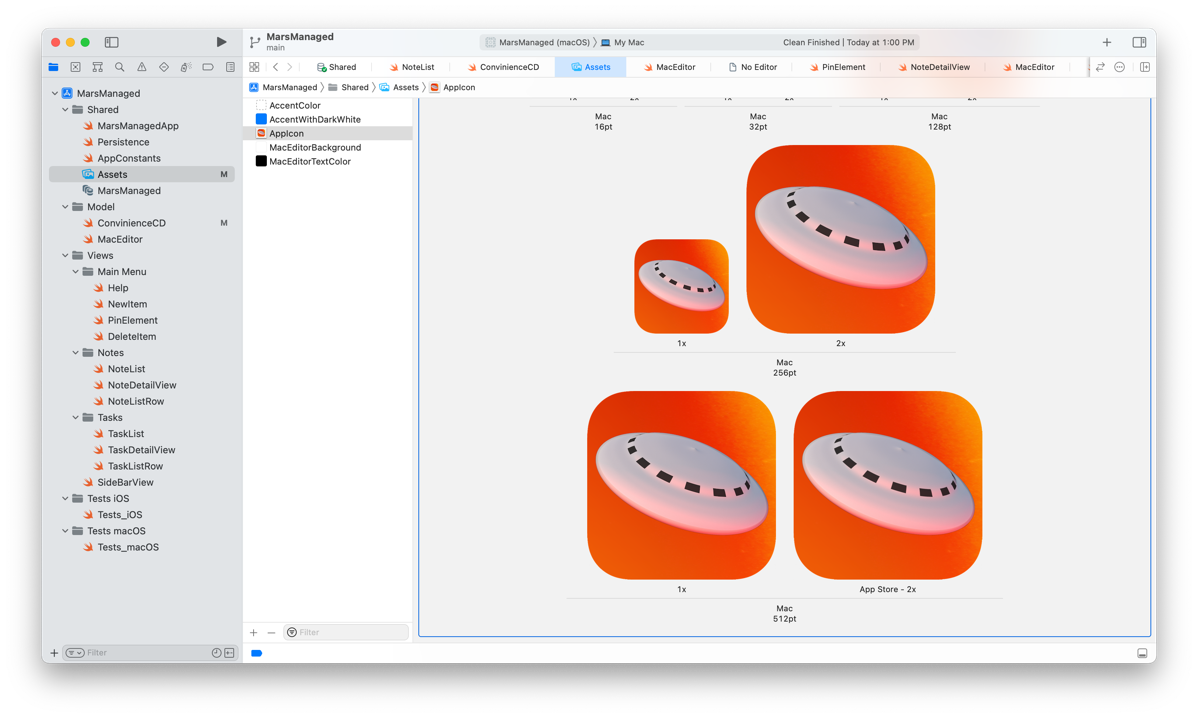
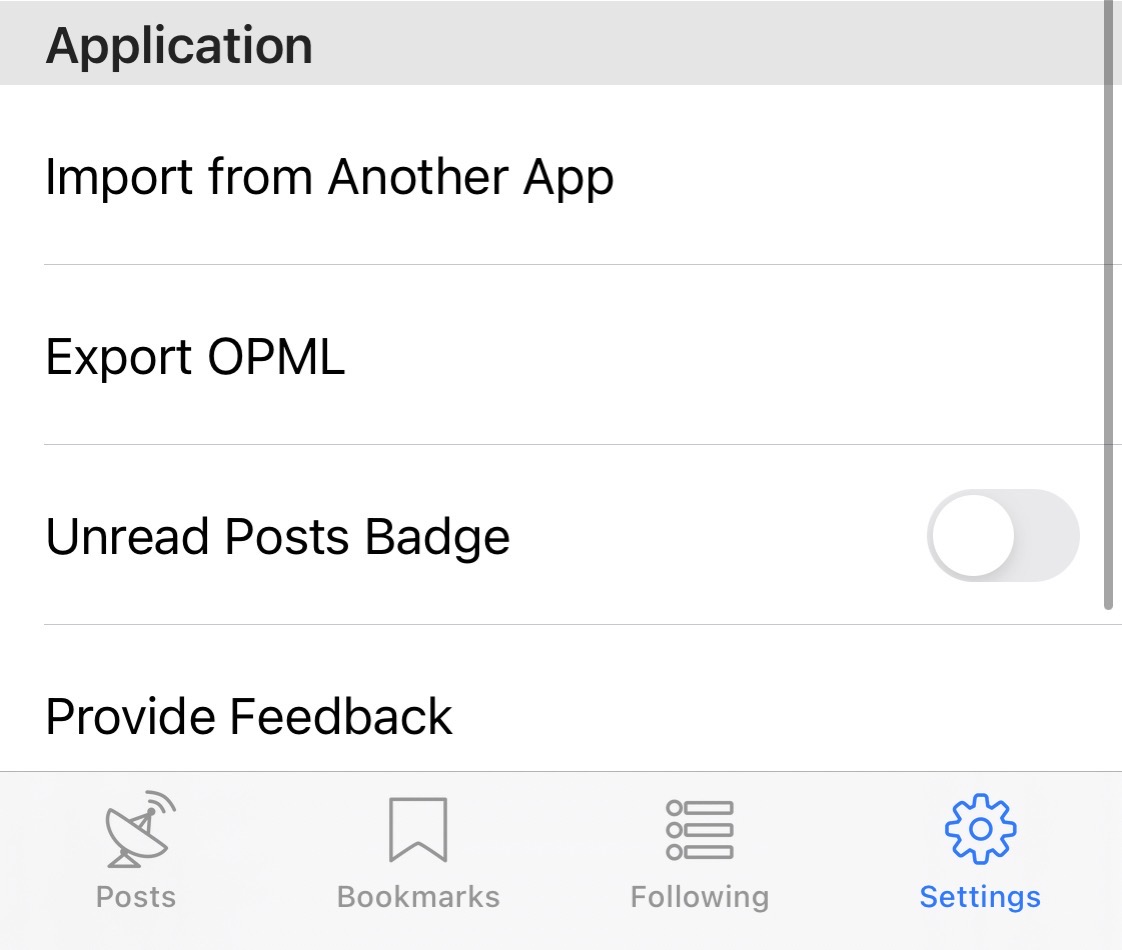
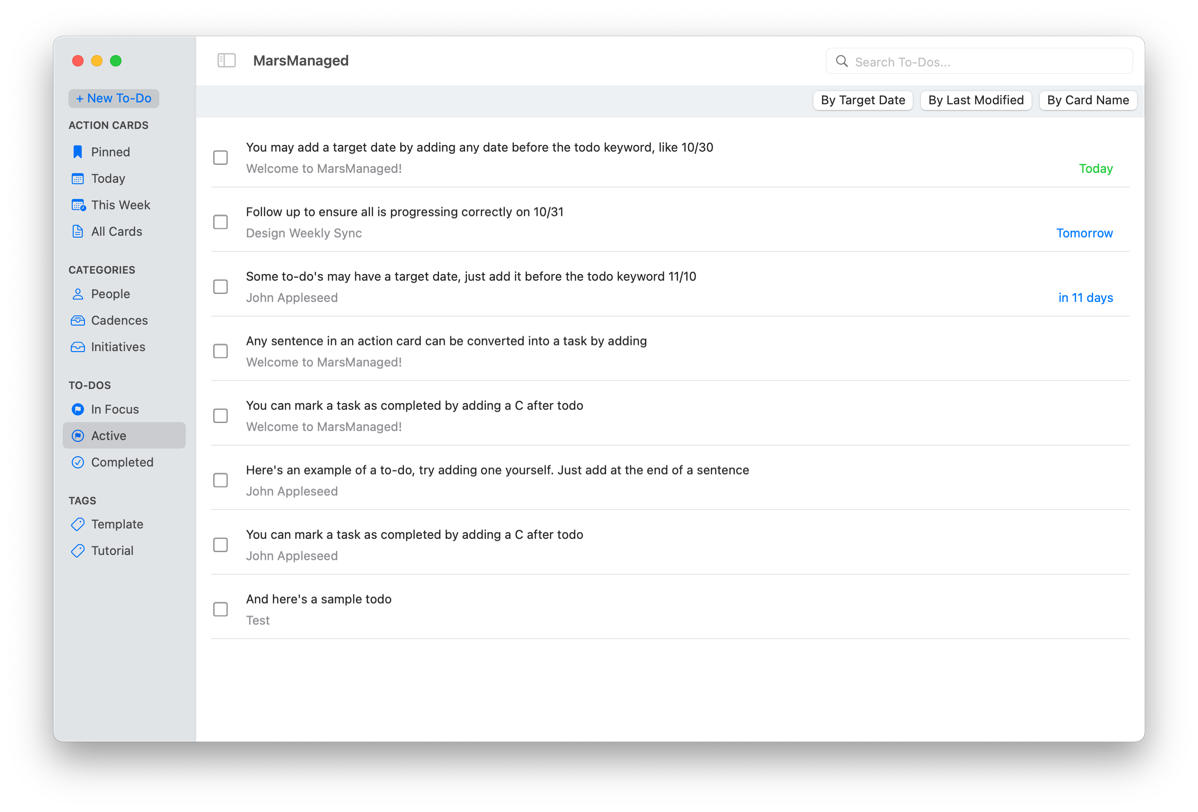
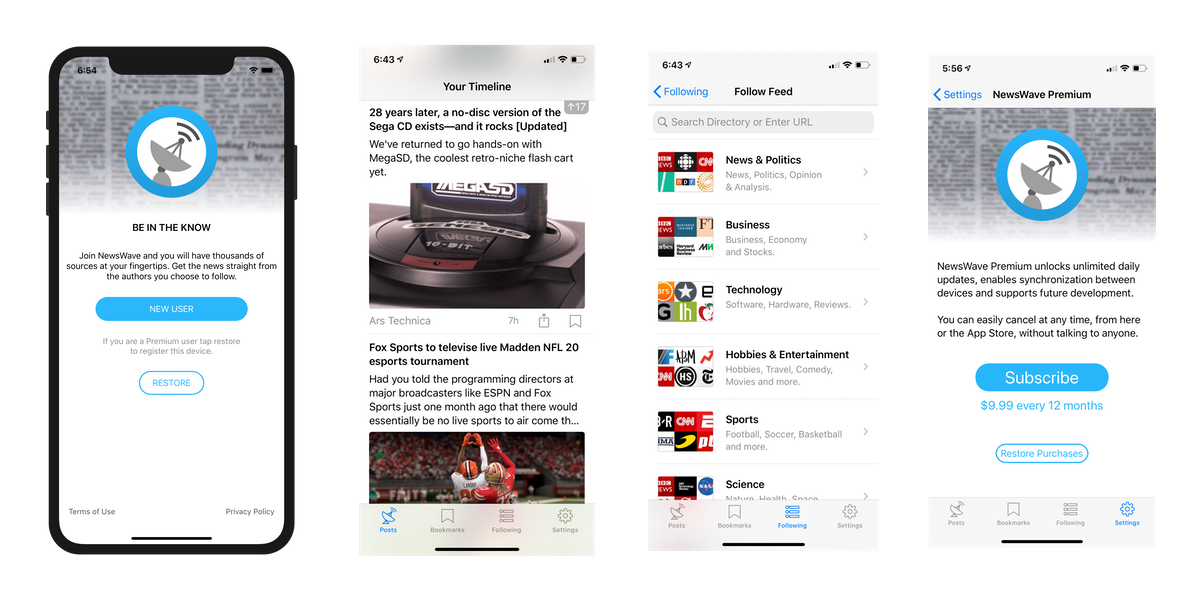
– 70% of users that downloaded the app ended up creating an account. That was a huge increase from the 20% I was seeing initially. Below the new onboarding flow that premiered with 2020.1 -old icon included-.
FEEDS
– NewsWave continuously monitored 4,382 feeds for updates.
– Top followed feeds among users were:
| ORDER | NAME | URL |
| 001 | BBC News | bbc.co.uk |
| 002 | CNN Top Stories | cnn.com |
| 003 | The New York Times | nytimes.com |
| 004 | NPR | npr.org |
| 005 | Reuters: Top News | reuters.com |
| 006 | HuffPost – Front Page | huffpost.com |
| 007 | 9to5Mac | 9to5mac.com |
| 008 | The Guardian | theguardian.com |
| 009 | MacRumors | macrumors.com |
| 010 | Wall Street Journal | wsj.com |
| 011 | Washington Post – World | washingtonpost.com |
| 012 | TIME | Top Stories | time.com |
| 013 | Engadget | engadget.com |
| 014 | Wired | wired.com |
| 015 | BBC Science & Environment | bbc.co.uk |
| 016 | TED Talks | ted.com |
| 017 | CBC | Top Stories | cbc.ca |
| 018 | Business Insider | businessinsider.com |
| 019 | Science Magazine | science.sciencemag.org |
| 020 | NASA | nasa.gov |
– It would take the server around 600 seconds to crawl & fully refresh all feeds.
– Metadata provided by RSS feeds can’t be trusted, to work around it NewsWave servers used a hash to track changes.
– A de-duplication check before any article was added to the database ensured similar articles, with minor title changes or description tweaks, would not be sent again to users.
– If enough people would subscribe to a feed, the server would then make that feed discoverable by search to other users. That’s great, right? Well, except for adult content…The good news is NewsWave already launched with an explicit content detection algorithm. The bad news is I found myself updating it quite regularly to ensure it caught all variants.
BOOKMARKS
The average user had 12 bookmarks, in line with my expectations when I designed the system. But there were outliers at >1,500 bookmarked items, leading to some unforeseen synchronization complexities.
…how much time should you invest on accounting for a use case that will only few users need vs. working on what the majority of users benefit from? Finding the balance is quite tricky, but I’m pleased with the mix achieved.
USERS
At the time of this writing, NewsWave had 1,955 users and a total of 2,105 devices. The vast majority of users either used the macOS app or the iOS app, the split was:
iPhone: 47%
macOS: 41%
iPad: 12%
REVENUE MODEL
NewsWave had two tiers: a free tier and a premium tier. The objective was to make the app available to as many people as possible, thus the Free Tier aimed for a great experience with minimal server requirements while the premium one added features that had higher server costs.
– Free Tier: Great for users that only had one device, allowed up to 24 fetches/day.
– Premium Tier: Provided unlimited daily fetches and synchronization between any number of devices.
In retrospective, differentiation between both tiers was not significant enough to motivate most users to move up to the Premium Tier. I had originally planned to show some non-intrusive ads to free users -in a very similar fashion to how Overcast does it– but I never felt NewsWave had enough users to justify all the development it would require.
KEY NEWSWAVE POSTS (SUNRISE TO SUNSET)
– May 2019 | NewsWave Released
– June 2019 | NewsWave 2019.6 plans
– July 2019 | NewsWave 2019.6 progress
– July 2019 | NewsWave 2019.7
– October 2019 | NewsWave iOS13 Feature Update
– Feb 2020 | 2020 Roadmap
– March 2020 | NewsWave 2020.1
– March 2020 | Designing a new NewsWave Icon
– May 2020 | Announcing NewsWave for Mac
– July 2020 | NewsWave 2020.3 for Mac
– January 2021 | NewsWave for Mac 2021.01
– March 2021 | NewsWave 2021.5 for Mac & iOS
– October 2021 | NewsWave for Mac 2022.0
– November 2021 | NewsWave will be sunset early next year
CLOSING
NewsWave is the app I’m most proud of to date, not only because of the iOS and macOS apps, but also because of the server-side components: php, python, sql, Debian… I had a blast learning & building the crawler engine, the synchronization logic, the maintenance scripts…
Ultimately thought, it was its time.
Next post will be about the future, very excited about the new apps & services in the pipeline.
As always, you can reach me @MarcMasVi
Marc
